How to print to E3DPL Taz printers
You can access these printers through 3dPrinterOS, but the slicing method is different from the Ultimaker 2 and Ultimaker 2 Extended. From your My Files or My Projects page, click on the Apps button on the right side of the window on an STL file.

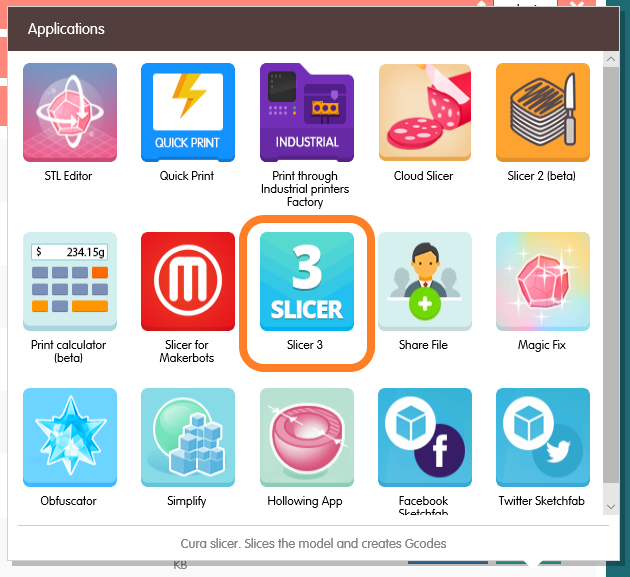
In the window that comes up, click on the Slicer 3 icon, to use the E3DPL slicer.
The new slicer will show the Lulzbot TAZ 6 as the printer and provide slicing profiles for the four types of filament currently offered. We do not recommend changing the settings drastically from their current places, but do enable support if your object will require it. We also do not currently recommend a brim for most geometry on these printers. When you are ready, click on the Slice & Toolpath Preview button.
NOTE: There is also a profile for a “Vase” style print in the t-Glase material. This will print a single strand wall (0.5mm thick), with no infill, and no top on objects sliced with that profile. Support generated on models with overhangs can be unpredictable, so models requiring support are not recommended. The resulting objects transmit the maximum amount of light through their surface, but can be very fragile.
There should be no price shown in your file and project browser, and the resulting gcode file should show LULZTAZ6 to the left of the time estimate.

Be sure to submit your gcode file to the correct printer’s queue. Although our staff can see which printer profile you sliced your model for, if the gcode file is submitted to a different printer, we will not print it, and will email you for clarification.